How to clean a candle jar and reuse it (complete guide)
In short: to remove the wax left at the bottom of a candle jar, three methods work: hot water (the simplest), a double boiler (the cleanest) and the freezer (best for hard waxes). Then remove the metal wick tab, degrease the jar with hot soapy water, and it is ready for a second life: storage, a plant pot cover, a bowl if the jar is certified food-safe… or a flowerpot.
1. Why is there wax left at the bottom of a candle jar?
For two reasons, one normal, the other avoidable.
The safety margin. The National Candle Association, the trade body for candle makers, recommends putting out a container candle when about 1.3 cm (½ inch) of wax remains. Below that, the flame gets close to the bottom and the container can overheat. This leftover wax is therefore intentional.
Tunnelling. If the wax has melted into a well in the centre, leaving walls along the sides, the first burns were too short: the wax didn't have time to melt to the edges. The result: more wasted wax and more cleaning. The rule to avoid it: from the very first burn, let the candle burn until the whole surface is liquid. We cover this in detail in our guide to making your scented candle last longer.
2. Before you start: identify your wax and your jar
The type of wax. Plant-based container waxes melt at low temperatures: about 43 to 52 °C for soy wax and 42 to 50 °C for rapeseed wax, depending on the formulation. Beeswax is much harder (around 61 to 67 °C). Paraffin covers a wide range depending on its quality. A simple test: press the wax with your fingernail. If it marks easily, it is a soft wax, better suited to heat-based methods.
The jar material. Glass and ceramic both withstand heat, but both are vulnerable to thermal shock: a sudden change from cold to very hot (or the reverse) can cause a crack. The golden rule of this guide: gradual temperature changes.
Useful equipment: a wooden spoon or spatula, kitchen paper, hot water, washing-up liquid, a little vegetable oil or household alcohol. Keep knives and sharp objects for the kitchen: the National Candle Association advises against them, as they can scratch the glass and weaken it.
3. Three methods to remove wax from the bottom of a candle jar
Method 1: hot water (the simplest)
Ideal for plant-based waxes and small residues.
- Place the jar in the sink, on a tea towel.
- For a ceramic pot, warm it for a few seconds with lukewarm water first.
- Pour in very hot, but not boiling, water up to 1 or 2 cm from the rim.
- Leave until completely cool. The wax melts, rises to the surface and sets into a disc.
- Lift out the disc by hand, then pour away the water.
Method 2: the double boiler (the cleanest)
Useful when the layer of wax is thick, or to recover liquid, reusable wax.
- Stand the jar in a saucepan with a few centimetres of water.
- Heat gently, without a rolling boil.
- When the wax is liquid, lift the jar out with an oven glove and pour the wax into a small silicone mould or a cardboard pot.
- Wipe the inside immediately with kitchen paper while the jar is still warm.
Method 3: the freezer (for hard waxes)
In the cold, wax contracts and comes away from the sides. This method works best with hard waxes, such as beeswax or some paraffins. A plant-based wax, softer and stickier, generally comes away less cleanly: for it, heat-based methods are safer.
- Put the jar in the freezer for a few hours.
- Take it out and let it return to room temperature for a few minutes.
- Lever with a wooden spoon or spatula: the wax comes away in pieces.
Always let the jar return to room temperature before any contact with hot water: that is the classic thermal shock scenario.
Which method should you choose?
| Method | Ideal for | Advantage | Watch out for |
|---|---|---|---|
| Hot water | Plant-based waxes, small residues | No equipment | Warm ceramic pots first |
| Double boiler | Thick layer | Recoverable wax, very clean jar | Low heat, oven glove essential |
| Freezer | Beeswax, hard paraffins | No heat | Gradual return to room temperature |
4. Removing the wick tab, glue and soot
The wick tab. At the bottom of the jar is the small metal base that held the wick, often fixed with a dot of glue. Slide a spatula underneath to loosen it, then remove any glue residue with a little vegetable oil or household alcohol on a cloth.
Wooden wicks. The base comes out the same way. Remove any charred wood with kitchen paper before washing.
Black soot around the rim. Black marks at the top of the sides come from a flame that was too high or a wick that was too long. They come off with a cloth soaked in household alcohol or hot soapy water, before the final wash. To avoid them on your next candle: trim the wick to about 5 mm before each use.
The label and its glue (glass jars). Soak the jar in hot soapy water for about fifteen minutes: the label will peel off. Any remaining glue comes off with a little vegetable oil, left for a few minutes and then rubbed with a sponge.
5. Cleaning and degreasing the jar
- Wipe away as much wax as possible with kitchen paper.
- Wash the jar in hot water with washing-up liquid.
- Rinse and dry.
Good habit: throw leftover wax in the bin or reuse it. Wax sets as it cools and can block pipes: keep the sink for rinsing water only.
What about the dishwasher? It is fine for a jar that is already free of all wax. Washing by hand remains the safest option, especially for hand-painted ceramics.
6. What to do with the leftover wax?
- Wax melts: pour the wax into a silicone mould and use the discs in a wax burner. They will still release some of the fragrance.
- Firelighters: a few wax shavings in a cardboard egg box make an effective firelighter for a fireplace or barbecue.
- Household fixes: rubbing a piece of wax on a sticky zip or drawer makes it glide.
7. What to do with an empty candle jar? 8 reuse ideas
- Pencil or brush pot on a desk.
- Bathroom storage: cotton pads, toothbrushes, hair ties.
- Catch-all for keys, jewellery or coins.
- Plant pot cover for a small houseplant in a nursery pot.
- Bowl or ramekin (dried fruit, olives, sugar), if the jar is certified food-safe.
- Tealight holder: a tealight inside is all it takes.
- A new homemade candle: the cleaned jar is ready to be refilled.
- Flowerpot: the most natural second life, and the one we designed for every OALI candle.
What about food use? It all depends on the jar. Food-safe certified glass or ceramic can be used as a bowl, ramekin or glass once thoroughly cleaned: wax, glue and fragrance residues removed, then washed in hot soapy water. Without a clear indication from the manufacturer, keep your jar for decoration and storage.
And if you don't keep it? A cleaned glass jar follows your local sorting rules for glass packaging. Ceramics, on the other hand, go to the recycling centre (the container park in Belgium, the déchetterie in France): they disrupt glass recycling, even in small amounts.
8. At OALI, the pot already has a second life planned
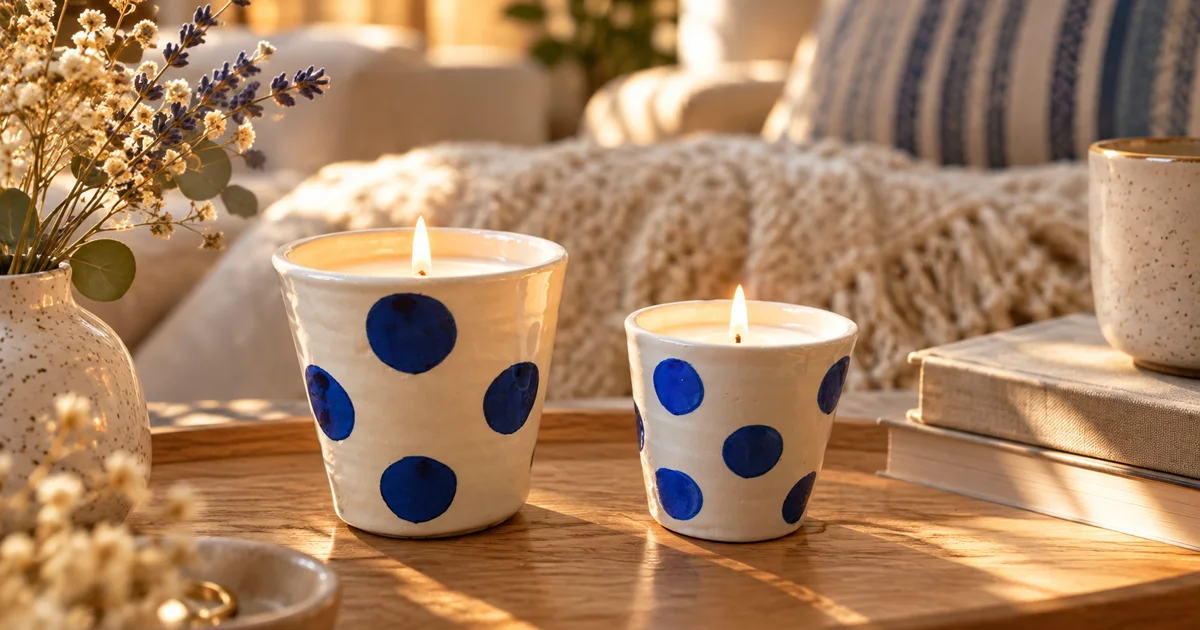
Our candles are hand-poured in our workshops in Belgium and France, into hand-shaped, hand-painted ceramic pots. They were designed from the start as objects to keep and reuse.
Every candle comes with a seed paper label. Once the candle has burnt down and the pot is clean:
- Put a layer of about 2 cm of clay pebbles or gravel at the bottom of the pot. Our pots have no drainage hole, so they can safely hold the wax: this layer acts as a drainage reservoir and keeps the roots dry.
- Fill with potting compost, leaving about 2 cm below the rim.
- Lay the seed paper label flat on the compost and cover it with a few millimetres of soil.
- Water with a fine spray, a little but regularly, just enough to keep the soil moist to the touch, near a bright window.
The pot that scented your living room becomes a little garden on your windowsill. To learn more about the idea, read our article on the seed paper scented candle, the gift that blooms after use.
👉 Discover our blooming candles from the COCO collection or the MAUI collection.
9. FAQ
- How do you remove wax from the bottom of a candle jar?
- Pour very hot (not boiling) water into the jar and let it cool: the wax rises and forms a disc that is easy to remove. For a thick layer, melt the wax in a double boiler. For a hard wax such as beeswax, put the jar in the freezer for a few hours.
- Can you pour boiling water into a candle jar?
- It is not recommended: a sudden temperature change can crack glass or ceramic. Use very hot, not boiling, water and warm ceramic pots first with lukewarm water.
- Why should you leave wax at the bottom of a candle?
- The National Candle Association recommends putting out a container candle when about 1.3 cm of wax remains, to stop the flame overheating the bottom of the container.
- How do you remove black marks from a candle jar?
- Soot comes off with a cloth soaked in household alcohol or hot soapy water. To avoid it, trim the wick to about 5 mm before each use.
- Can you pour wax down the sink?
- It is better to throw it in the bin or reuse it as wax melts. Wax sets as it cools and can block pipes.
- Can you reuse a candle jar for food?
- Yes, if the jar is certified food-safe and thoroughly cleaned: all the wax, the wick tab glue and fragrance residues must be removed, then the jar washed in hot soapy water. Without that certification, keep it for decoration or storage.
- Where should you dispose of a ceramic candle pot?
- Ceramics go to the recycling centre (container park in Belgium, déchetterie in France). They are sorted separately from glass, as they disrupt its recycling.
- How do you reuse an OALI candle pot?
- Every OALI candle comes with a seed paper label. Once the pot is clean, put a layer of clay pebbles at the bottom, add potting compost, lay the label on top, cover it lightly and water: wildflowers grow right in the ceramic pot.
Further reading
Sources: National Candle Association, Candle Safety Tips · Top Wosk, melting temperatures of candle waxes.